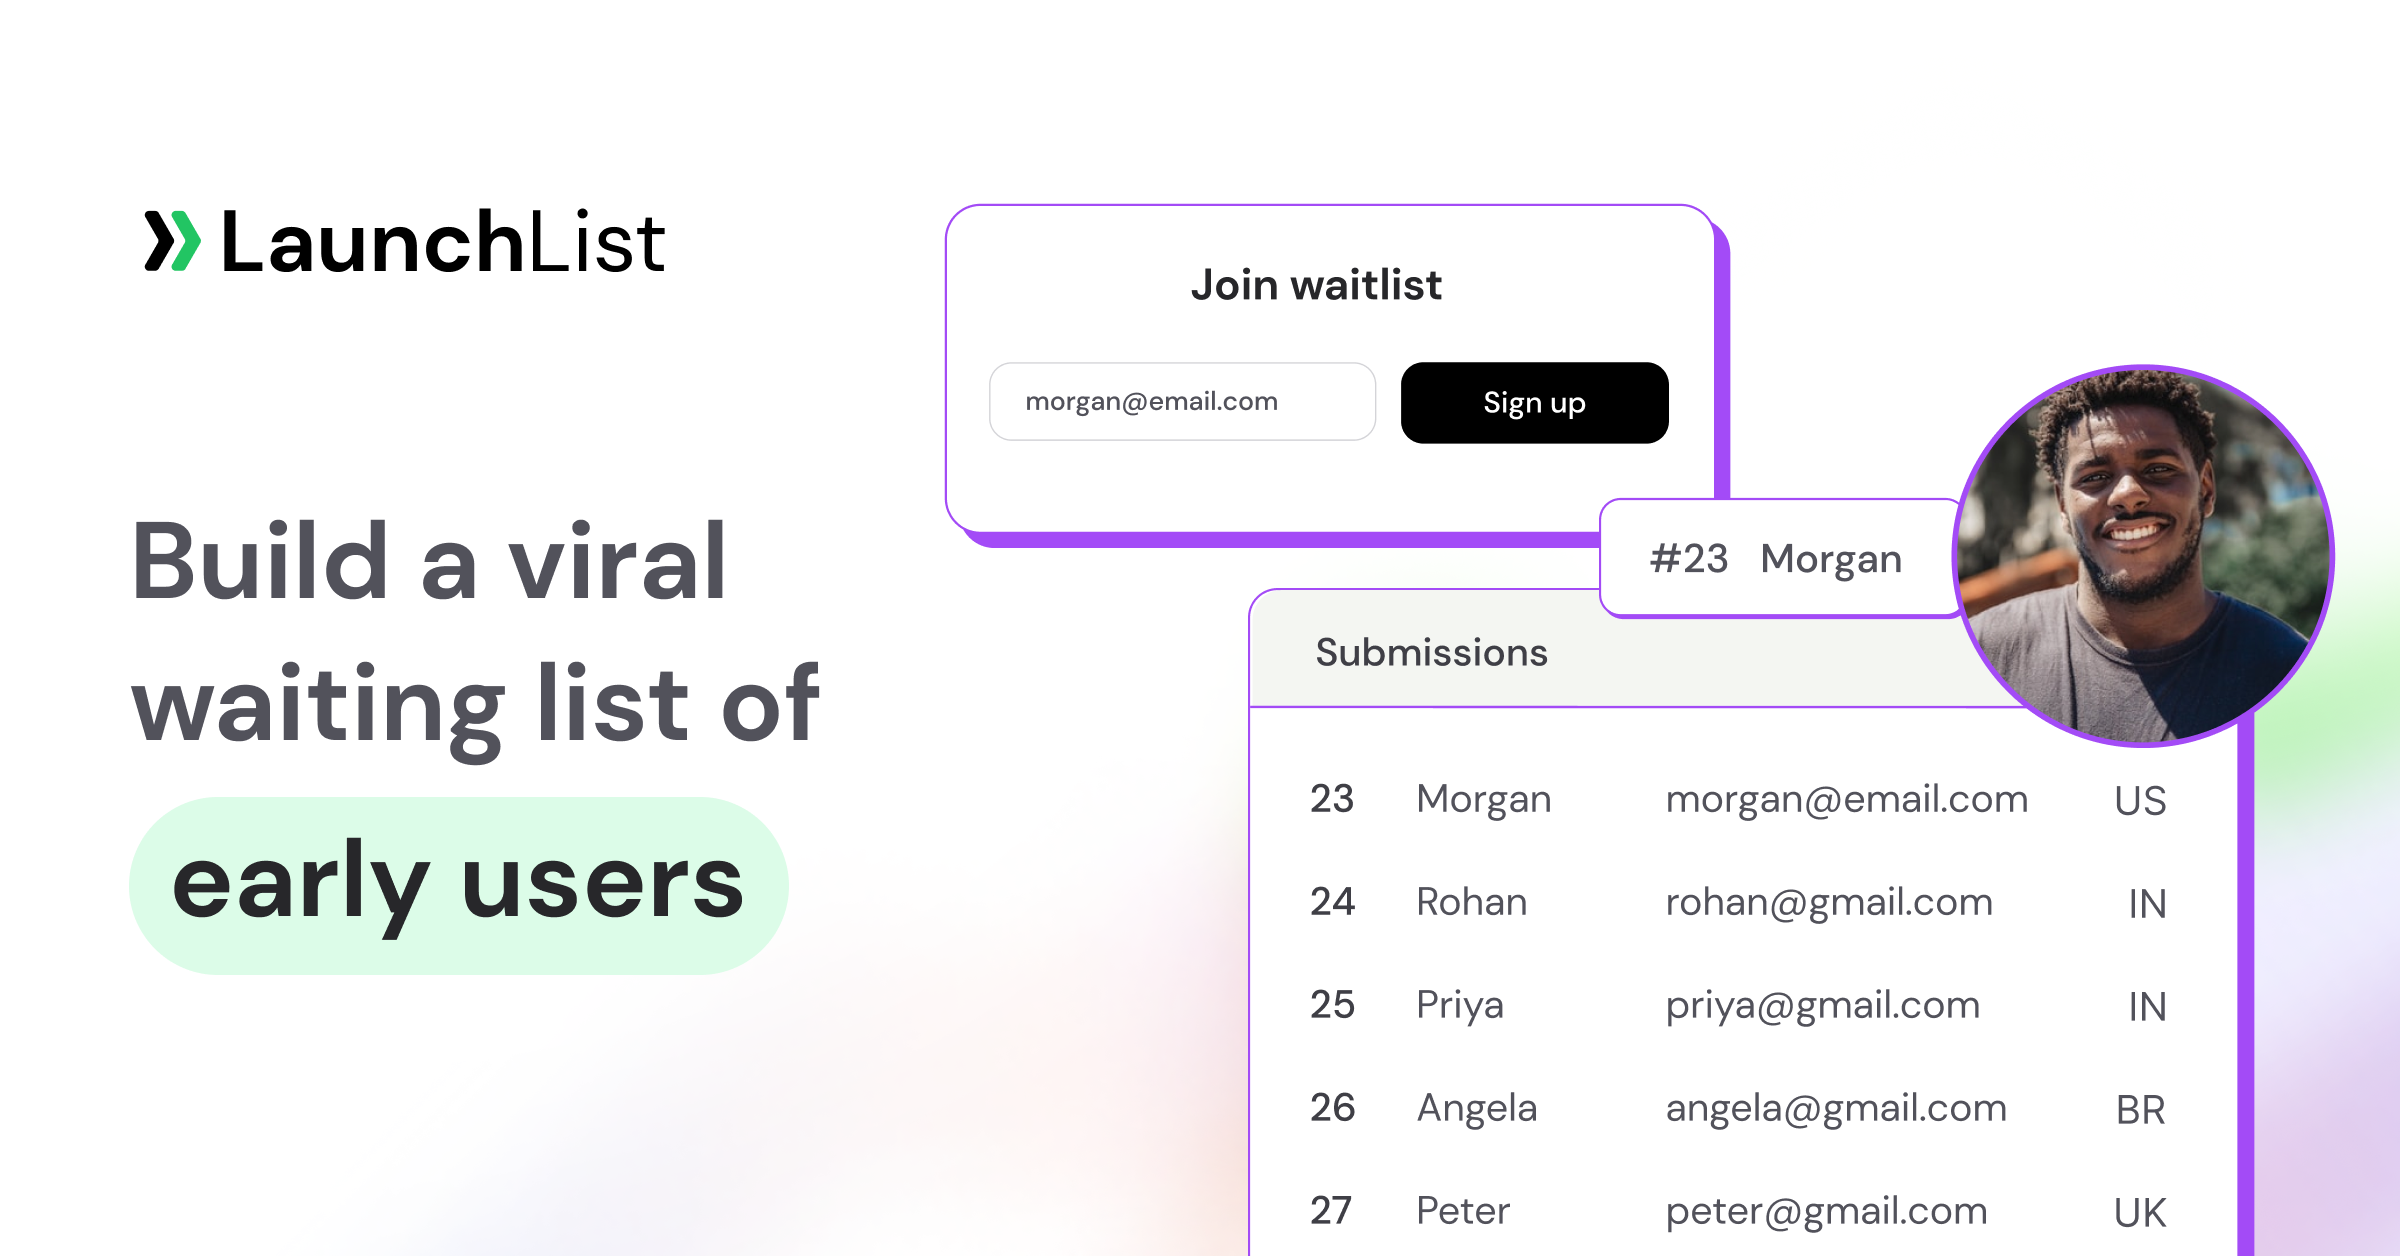
TL;DR: Adding a waitlist form to your website takes two lines of code you can paste anywhere — one <script> in your page's head, one <div> where you want the form. That's it, on any platform: Webflow, WordPress, Squarespace, Framer, Carrd, Wix, or plain HTML. The important part isn't the paste — it's making sure the form has a referral loop, position tracking, and a proper success page, which a native contact form can't do. This guide covers the universal embed, per-platform setup, styling, custom fields, and the mistakes that quietly kill signups.
A waitlist form is the single most important element on your pre-launch site — it's the thing that turns a visitor into a lead, and (done right) each lead into more leads. The good news: you don't need a developer, and you don't need to rebuild your site. You need one snippet and the right settings.
The two-minute version
Every no-code waitlist tool works the same way. With LaunchList, you create a waitlist (free for your first 100 signups, no credit card), grab your form key from the Install page, and add two things to your site:
1. Load the widget script once, in your site's <head>:
<script src="https://getlaunchlist.com/js/widget.js" defer></script>
2. Drop the form wherever you want it to appear:
<div class="launchlist-widget" data-key-id="YOUR_FORM_KEY" data-height="180px"></div>
That renders a live signup form on your page. Every person who submits joins your waitlist, gets a confirmation email, and receives a unique referral link. No backend, no database, no code beyond those two lines. The rest of this guide is about doing it well — on your specific platform, styled to your brand, with the growth mechanics switched on.
Why a native form isn't enough
Most website builders ship a form element — Webflow forms, a WordPress contact plugin, Squarespace's form block. They'll capture an email. But a pre-launch waitlist form needs mechanics a generic form doesn't have:
| Feature | Native site form | Dedicated waitlist form |
|---|---|---|
| Email capture | ✅ | ✅ |
| Unique referral link per signup | ❌ | ✅ |
| Queue position tracking | ❌ | ✅ |
| Referral leaderboard | ❌ | ✅ |
| Reward milestones | ❌ | ✅ |
| Fraud / spam detection | ❌ | ✅ |
| Email validation | ❌ | ✅ |
| Confirmation email | Limited | ✅ Built-in |
Without a referral mechanic, your form is a plain email list — you pay for every signup individually and none of them bring a friend. With one, each signup can bring two to five more; it's how Dropbox grew from 100,000 to 4 million users in 15 months. That's the whole reason to embed a purpose-built form instead of using the native one. (For the deeper why, see what is a waitlist landing page? and the referral program guide.)
First decision: embed on your site, or use a hosted page?
There are two no-code paths. Pick based on whether you already have a site:
- Embed the form on your existing site (this guide's focus). You keep your domain and design; the form renders inside your page. Best if you already have a landing page or brand site.
- Use a hosted waitlist page — a standalone URL the tool hosts for you, built from drag-and-drop sections, no site required. Best if you don't have a site yet or want the fastest path. If you want a whole page rather than just a form, follow how to create a waitlist landing page.
The trade-offs (SEO, brand trust, iteration speed) are laid out in hosted page vs embedded widget. The rest of this guide covers the embed path.
Step-by-step: add the waitlist form to any site
Step 1: Create the waitlist and get your form key
Sign up free, create a waitlist named after your product, and turn on the referral reward (e.g. "every friend who joins moves you up 5 spots"). Open the Install / Widget page — that's where your data-key-id (form key) and exact snippet live.
Step 2: Add the script to your site's head
Paste this once, globally, so the widget loads on every page. It loads asynchronously (defer), so it won't slow your page down:
<script src="https://getlaunchlist.com/js/widget.js" defer></script>
Where the "head" lives depends on your platform (next section).
Step 3: Place the form
Drop this wherever the form should appear — your hero, a section, a modal, a footer:
<div class="launchlist-widget" data-key-id="YOUR_FORM_KEY" data-height="180px"></div>
Replace YOUR_FORM_KEY with the value from your Install page. Adjust data-height to fit your layout.
Step 4: Test it
Open your published page in a private/incognito window, submit a test email, confirm the confirmation email arrives, then click your referral link and check that the position counter updates. Do this on your phone too — most pre-launch traffic (Twitter/X, Reddit, Indie Hackers) is mobile-first.
Platform-specific setup (head + embed)
The two lines are identical everywhere — only where you paste the head script changes. Here's the short version per platform, with links to the full walkthroughs:
- Webflow — Project Settings → Custom Code → Head Code for the script; drag an Embed element for the form. Full guide: Webflow waitlist setup.
- WordPress — add the script via your theme's header hook or a "header/footer scripts" plugin; drop the
<div>in a Custom HTML block. Full guide: WordPress waitlist plugin setup. - Squarespace — Settings → Advanced → Code Injection → Header for the script; add a Code block (HTML) for the form. Full guide: add a waitlist to Squarespace.
- Framer, Carrd, Wix, Bubble, React, Typedream, Weebly, Instapage, Cargo, plain HTML — same pattern (site-wide custom-code slot for the script, an embed/HTML block for the
<div>). Step-by-step docs for all 13 supported platforms are in the integration docs.
If your platform has any way to add custom HTML — and almost all do — you can add the waitlist form. No plugin marketplace required.
Style the form to match your brand
The widget inherits your page's fonts by default. To fine-tune, use Waitlist Settings → Appearance in the dashboard (button color, corner radius, font, background), or override with CSS on your page:
<style>
  .launchlist-widget { width: 100%; max-width: 480px; margin: 0 auto; }
  .launchlist-widget form { display: flex; gap: 8px; }
  .launchlist-widget input[type="email"] { font-family: inherit; flex: 1; }
  .launchlist-widget button { background: #16a34a; color: #fff; border-radius: 8px; }
</style>
Set font-family: inherit to pick up your site's typeface automatically, and match the button to your brand's accent color.
Collecting more than an email
For the highest conversion, ask for email only — every extra field measurably lowers signups. When you genuinely need more (name, company, use case), configure custom fields in your waitlist settings and the widget renders them automatically — no markup changes on your side.
Track signups in your analytics
The widget fires a launchlist:signup browser event you can forward to GA4 or any analytics tool:
<script>
  window.addEventListener('launchlist:signup', function (event) {
    if (typeof gtag !== 'undefined') {
      gtag('event', 'sign_up', { event_category: 'waitlist' });
    }
  });
</script>
Add it in the same custom-code/footer slot as your widget script.
Advanced: build a fully custom form
If you need total control of the markup (a bespoke multi-step form, an unusual layout), skip the widget and build your own HTML form that POSTs to your endpoint:
<form action="https://getlaunchlist.com/s/YOUR_FORM_KEY" method="POST">
  <input type="email" name="email" placeholder="[email protected]" required>
  <button type="submit">Join the waitlist</button>
</form>
Load the widget-diy.js script (linked on your Install page) so referral tracking, position, and validation still run behind your custom markup. This is the "advanced" path — most people never need it; the standard widget already handles styling and custom fields.
Best practices for a waitlist form that converts
The form works in two minutes. Making it convert comes down to a few rules:
- Email only, above the fold. One field, one button, no scrolling to find it.
- A button that says what happens. "Join the waitlist" beats "Submit."
- Turn on the referral loop. This is the difference between a list that grows itself and one that doesn't — see milestones & rewards.
- Show a real success state. After signup, show queue position + share link, not a generic "thanks." That's the viral moment.
- Send a good confirmation email. Plain, human, and repeat the share link — templates in waitlist email templates that get opened.
- Don't fake social proof. "Join 40 early users" beats an invented "10,000+."
If your form is live but signups are flat, work through why is my waitlist not converting? — the fix is almost always the headline or the CTA, not the form itself.
FAQ
How do I add a waitlist form to my website for free?
Create a free waitlist with a tool like LaunchList (free for your first 100 signups), copy your two-line embed from the Install page — one <script> in your site's head, one <div> where the form should go — and publish. No code beyond pasting those lines, and it works on any platform that allows custom HTML.
Can I add a waitlist form without any coding?
Yes. Pasting an embed snippet into a custom-code or HTML block isn't coding — every major website builder (Webflow, WordPress, Squarespace, Framer, Carrd, Wix) has a slot for it. If you'd rather not touch your site at all, use a hosted waitlist page instead — a standalone URL with no site required.
What's the difference between a waitlist form and a regular contact form?
A contact form just stores an email. A waitlist form adds the growth mechanics: a unique referral link per signup, queue position, a leaderboard, reward milestones, and spam/email filtering. Those mechanics are what let a waitlist grow through referrals instead of paid traffic alone.
Will the waitlist form slow down my site?
No meaningfully — the widget script loads asynchronously (defer), so it doesn't block your page from rendering. Always verify on your specific template with a tool like PageSpeed Insights.
Can I put the waitlist form in a popup or modal?
Yes. The <div class="launchlist-widget"> renders wherever you place it, including inside a modal, slide-in, or exit-intent popup your platform provides. Load the script once in the head and drop the div inside the modal's content.
How do I add the form to more than one page?
Load the script once site-wide (in the head), then add the <div> on any page where you want the form. The same waitlist collects signups from every placement.
Add your waitlist form today
Two lines, any platform, live in minutes — with referral management, position tracking, a leaderboard, fraud detection, and email validation included, free for your first 100 signups and one-time pricing after that (no monthly subscription).
Start free → or explore the hosted waitlist page builder if you'd rather not embed.
Related reading:
- How to create a waitlist landing page (step-by-step + free template) — build the whole page, not just the form.
- Hosted page vs embedded widget — which no-code path fits you.
- Webflow · WordPress · Squarespace — full per-platform guides.
- 15 waitlist landing page examples that convert — design inspiration.
- Waitlist referral program guide — the loop that makes the form grow.
- Best free waitlist software (2026) — tool comparison.